H2 Plot Load Cell Replacement
Note: The steps below are applicable for all the H2 GrainGages but the pictures only reflect the H2 Single, Twin, and Triple.
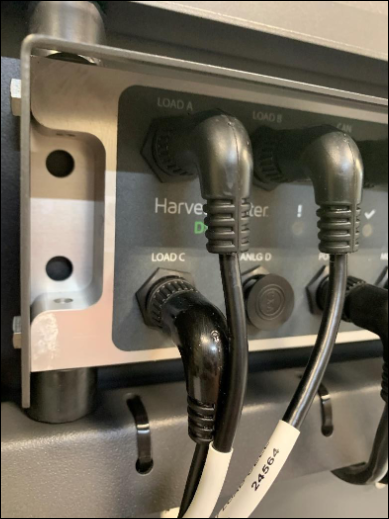
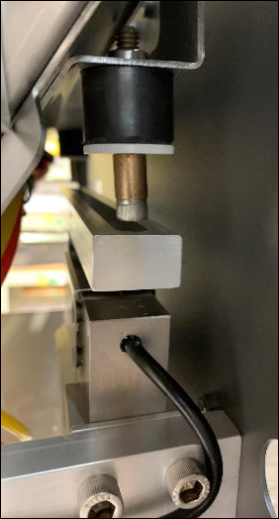
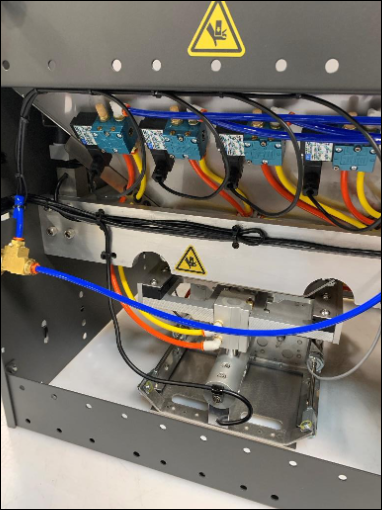
Locate the bad load cell.
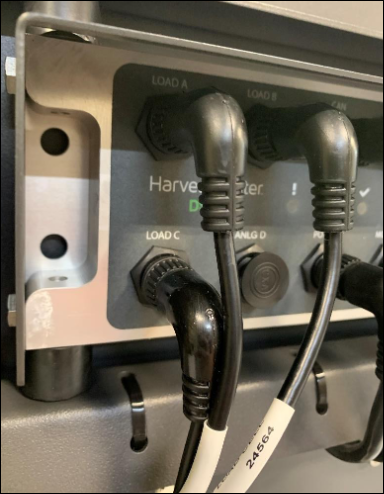
Disconnect the cord from Load A or B, depending on which load cell is bad.
Clip the zip ties holding the load cell cords.
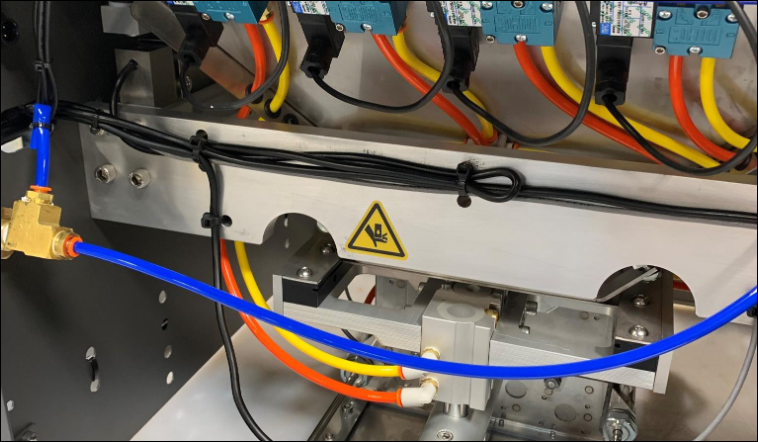
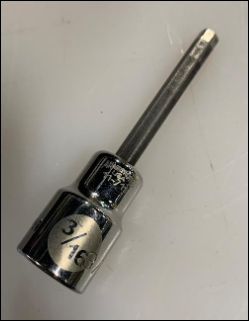
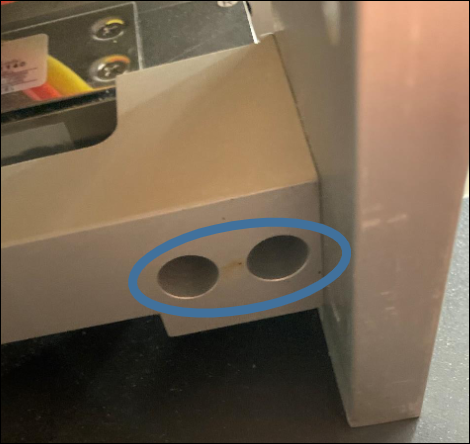
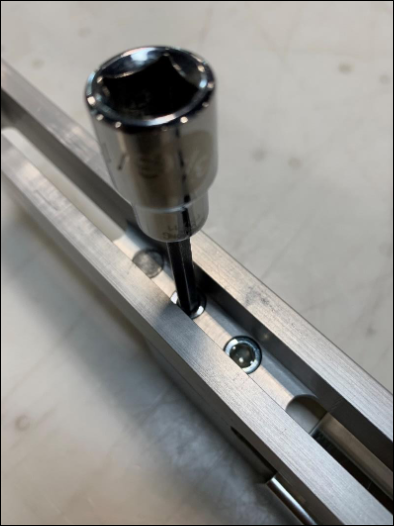
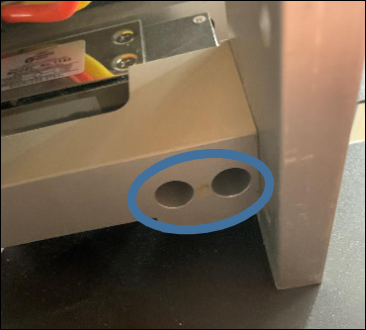
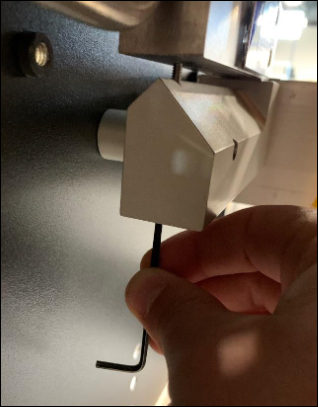
Using a 3/16 Allen wrench remove the two cap screws from the bottom side of the load cell.
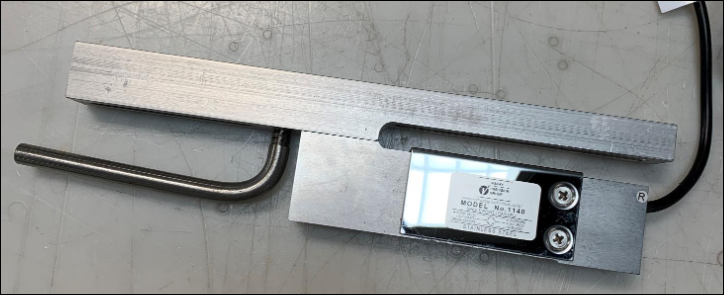
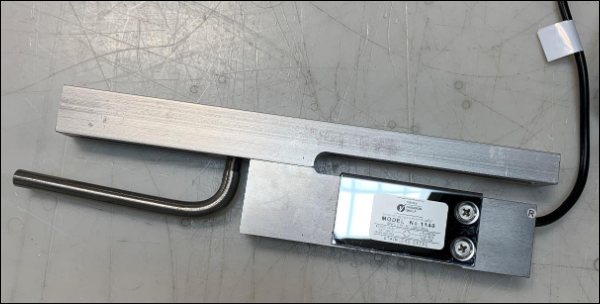
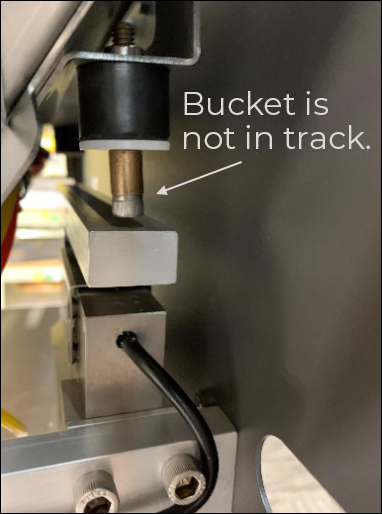
Lift the bucket out of the track and remove the entire load cell assembly from the GrainGage.
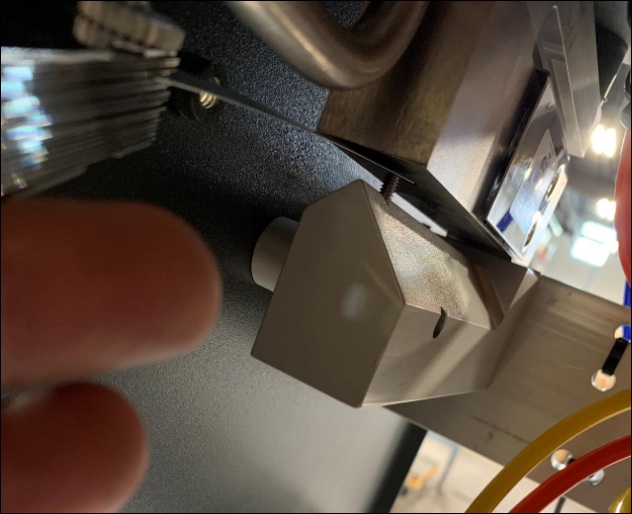
Remove the two cap screws from the top side of the bucket track with the 3/16 Allen wrench.

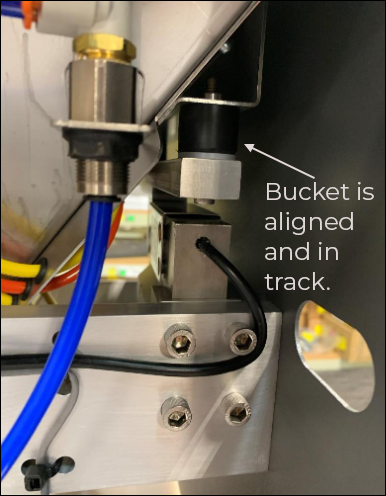
Replace the bad load cell with the new load cell. Tighten the cap screws from the top of the bucket track. Ensure the track and load cell are aligned with each other.
Lift the bucket out of the way to place your load cell assembly back into place. Tighten your cap screws into the bottom of the load cell. Ensure everything is aligned and the bucket is back in the track.
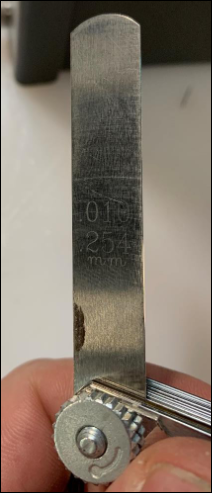
Use a 7/64 Allen wrench to set your overload protection screw so it is snug on the .010 feeler gauge.
Use zip ties to secure the wires out of the way. Clip off the end of the zip ties so they don't get in the way. Plug the load cell cord into the same port used in step 2 to connect your new load cell to the DSP or DSP2 module.
After a load cell has been replaced, recalibrate your plot weight in Mirus.
If you need further assistance, contact the HarvestMaster Field Service Engineers. For contact information, see Contact a HarvestMaster Field Service Engineer.
Phone Number: 435-753-1881
Email: hmtechsupport@junipersys.com
Address: 1132 W 1700 N, Logan, UT 84321

