Zebra Label Printer Plugin Set Up
The label printer plugin for Mirus gives users the option to print an adhesive label that contains text and barcode information from a plot harvested with a HarvestMaster GrainGage. Any Zebra ZPL compatible printer can be used with this plugin. We have tested using the Zebra P4T and Zebra ZQ520 printers.
For Mirus 2.1.2 you will need Zebra plugin version 1.0.5
For Mirus 3.1 you will need Zebra plugin version 1.0.13
For Mirus 4.1.1, 4.3.0, or 4.5.0+ you will need Zebra plugin version 1.0.14
For Mirus 4.6.0 you will need Zebra plugin version 1.1.0
To set up the Zebra Printer to work with Mirus,
1. Install and Register the Zebra Plugin
Verify Mirus is installed and registered on your device.
If Mirus is not installed and registered, see the Mirus for H2 GrainGage User's Guide.
Download the Zebra Label Printer Plugin to your device.
Activate the plugin online or over the phone.
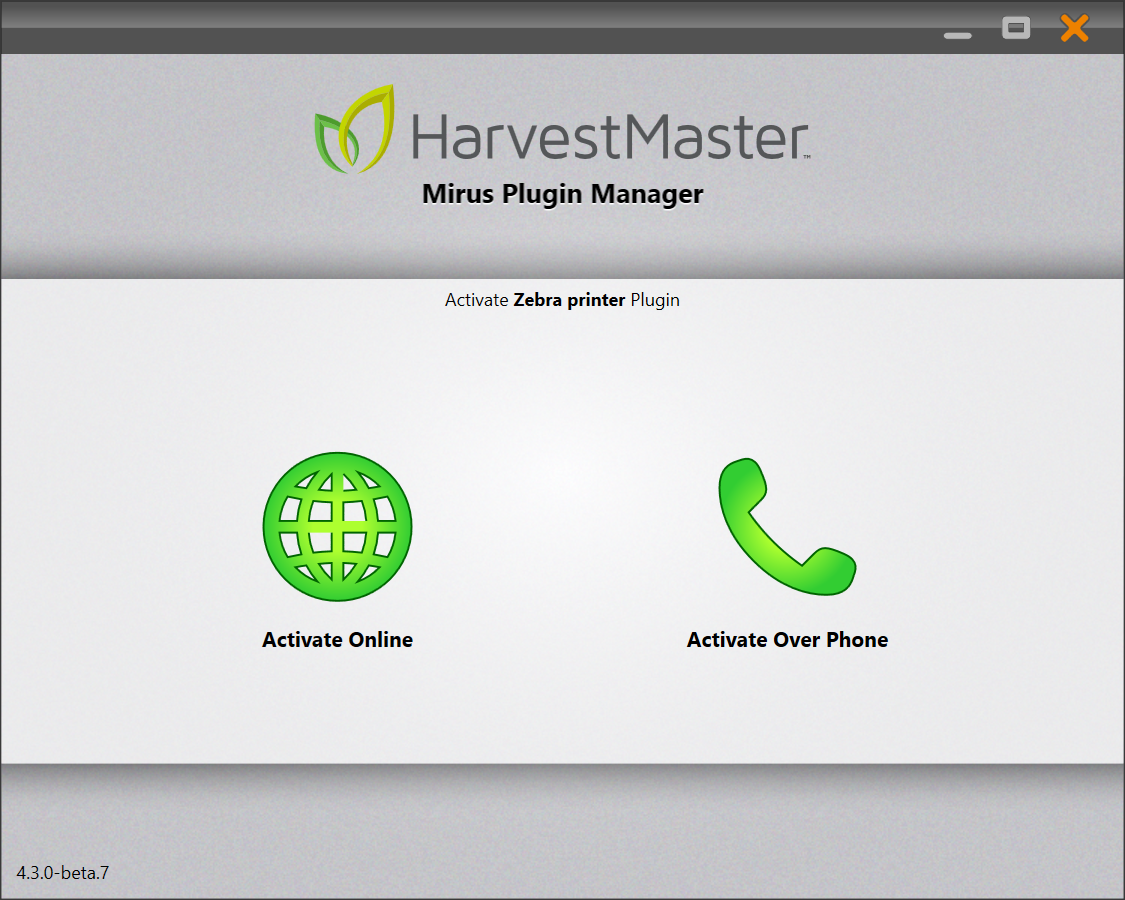
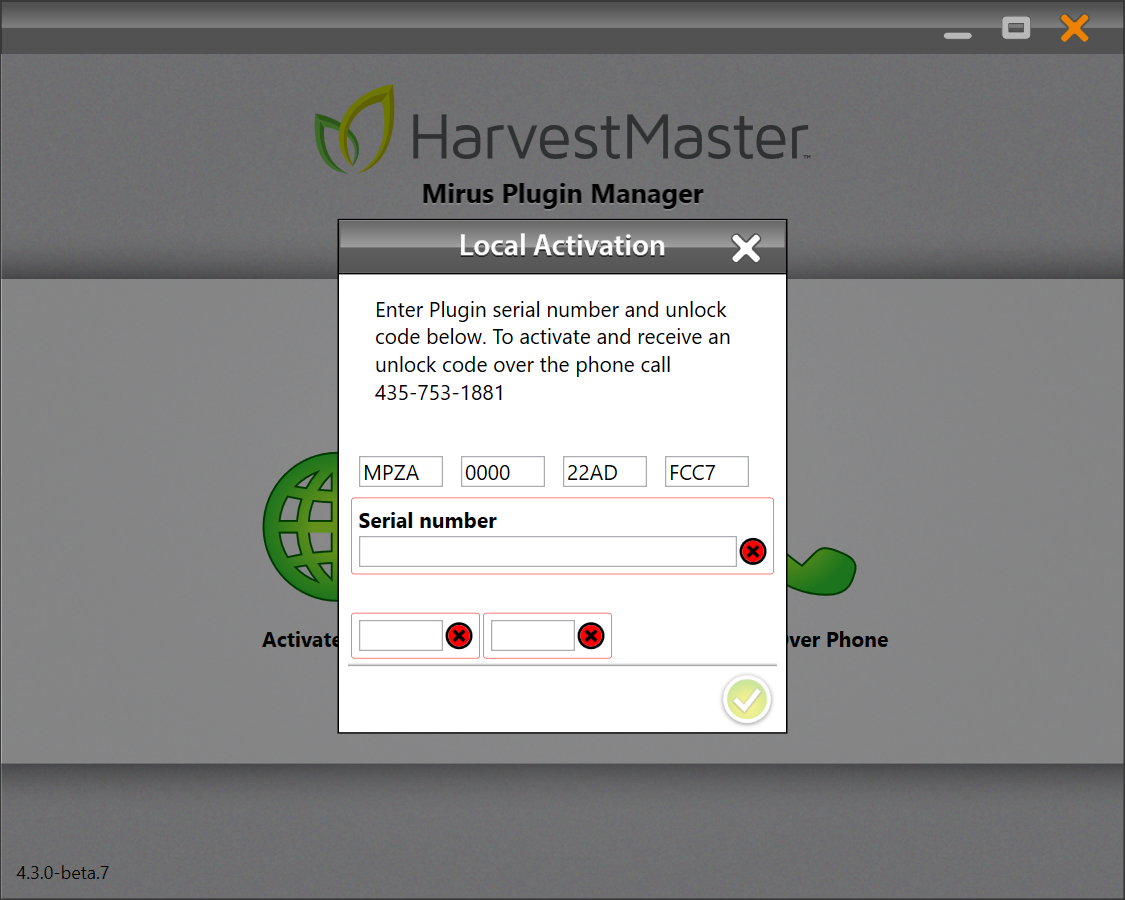
When the Zebra Plugin is purchased you will be sent a registration card with a serial number for the plugin.
If you chose to activate the plugin online, use the registration number, serial number, and unlock code to continue.
Verify Mirus is closed.
After the plugin is activated, click "Install Zebra Printer Plugin."
Close the installation window.
2. Install ZDesigner V.5 Driver for Windows
Go to the Zebra Printer Support and scroll down.
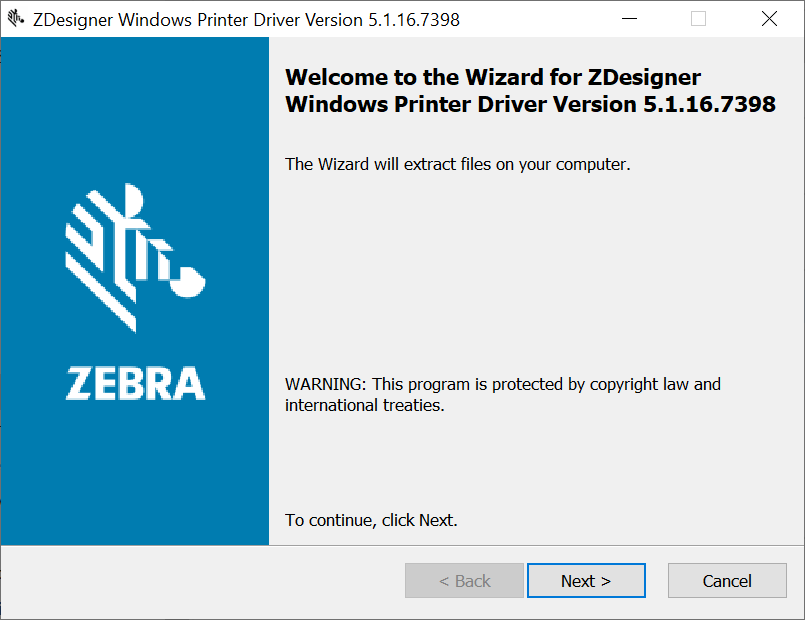
Download the ZDesigner v. 5 Driver for Windows.
Run the executable and install the driver.
3. Install Zebra Setup Utilities
Verify the printer is not plugged into your device.
Go to the Mobile Printer Support.
Download the Zebra Setup Utilities for Windows.

Run the executable and install the utility.
On the Welcome to InstallAware Wizard for Zebra Setup Utilities screen, click Next.
Check the box to accept the terms. Click Next.
Select the destination folder. Click Next.
Select a program folder. Click Next.
To complete the setup, click Finish.
4. Configure Printer
Plug the Zebra printer into your device.
In the Zebra Setup Utilities, select "Install New Printer" and click Next.
The printer number can be found on the top of your printer.
On the Additional Install Options screen, verify both options are checked then click Finish.
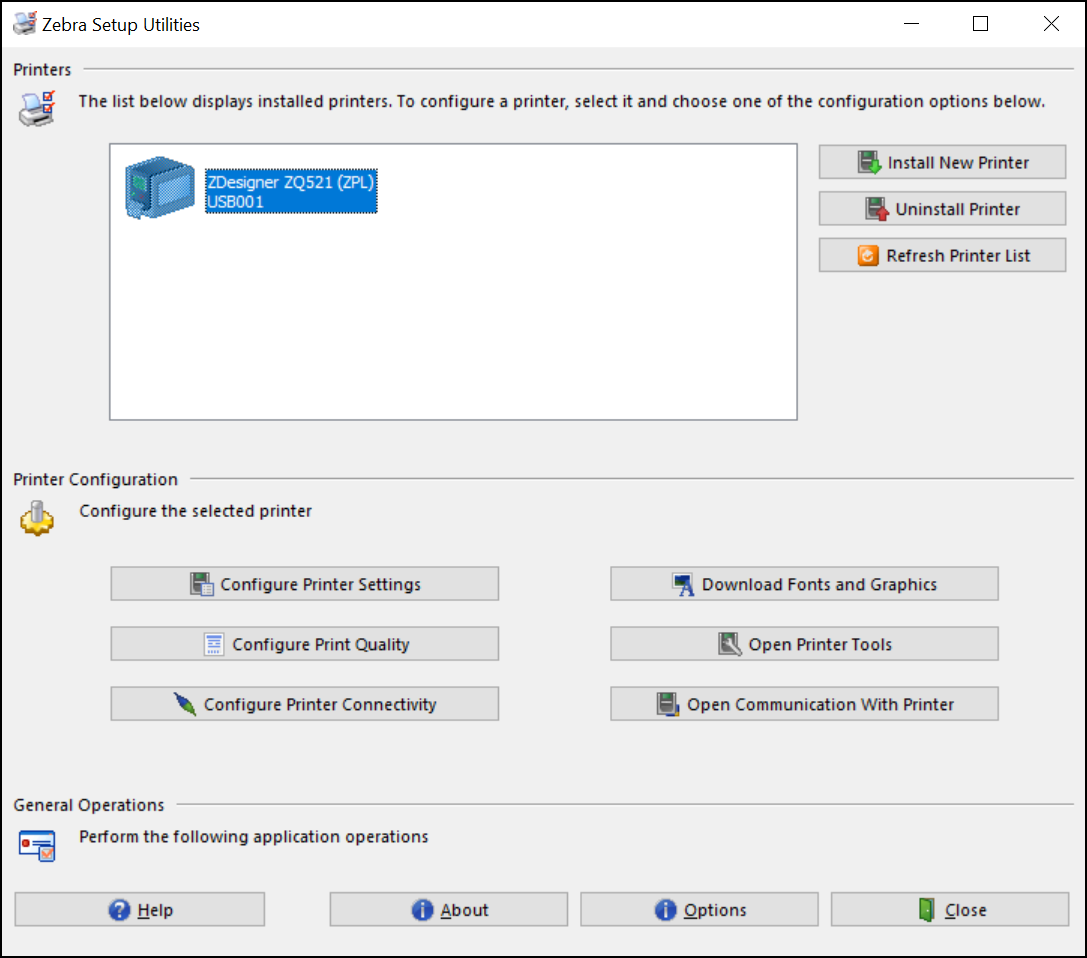
On the Zebra Printer Utilities screen under Printers, verify the correct printer is selected.
Select the USB port.
Use a measuring tape to measure the dimensions of the label you will be printing on.
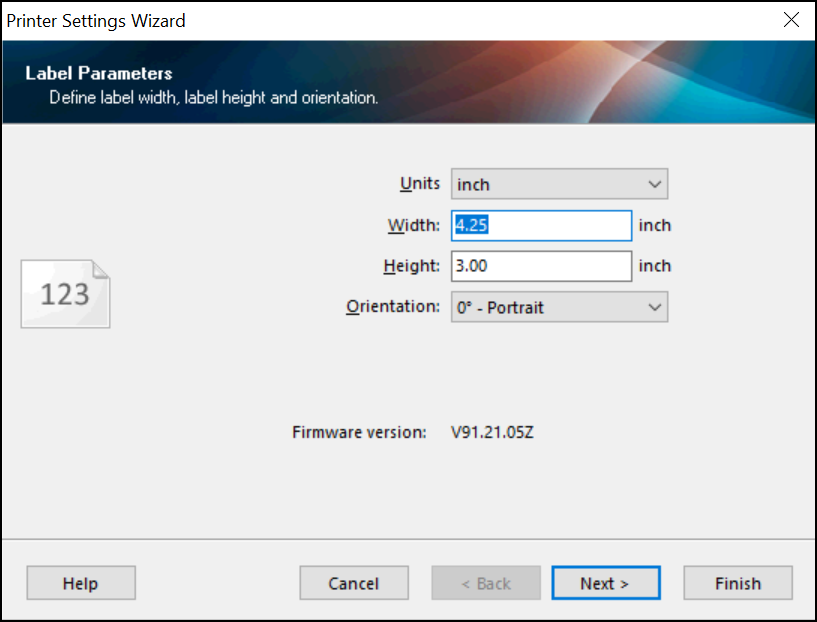
Under Printer Configuration, click Configure Printer Settings.
On the Label Parameters screen, enter the width and height of the label. Click Next.
Set the Speed and Darkness to your preference (we recommend a darkness of about 15). Click Next.
Set the Media Type to your preference (we recommend Mark Sensing). Click Next.
Web Sensing: Used for media with inter-label gaps, notches, or holes.
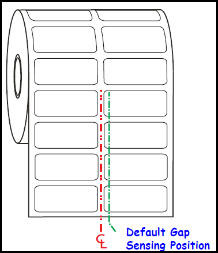
Continuous: Media that does not have or need a top-of-form indicator. The printer is told to print a specific length on the labels without automatic top-of-form correction.
Mark Sensing: There is a black line printed between the labels.
Configure the Advanced settings to your preference. Click Next.
If necessary, you can set the Real Time Clock. Click Next.
On the Front Panel Protection Screen, verify all the boxes are checked. Click Next.
If necessary, manually set the Sensor Settings. Click Next.
If you wish to save the settings to a file on your computer, check the box next to Save Settings to File.
Select Finish.
Calibrate the printer to prevent the label from starting in the incorrect position or skipping labels.
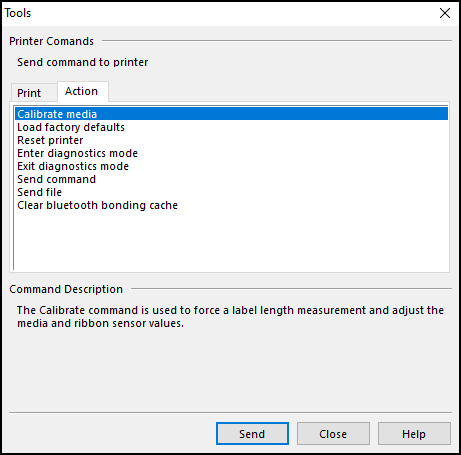
Under Printer Configuration, click Open Printer Tools.
Under the Action tab, click Calibrate Media > Send.
5. Setup Printer Language
Verify the Zebra printer is connected to your device via USB.
Open Zebra Setup Utilities.
Verify the correct printer is highlighted.
Click Open Communication with Printer.
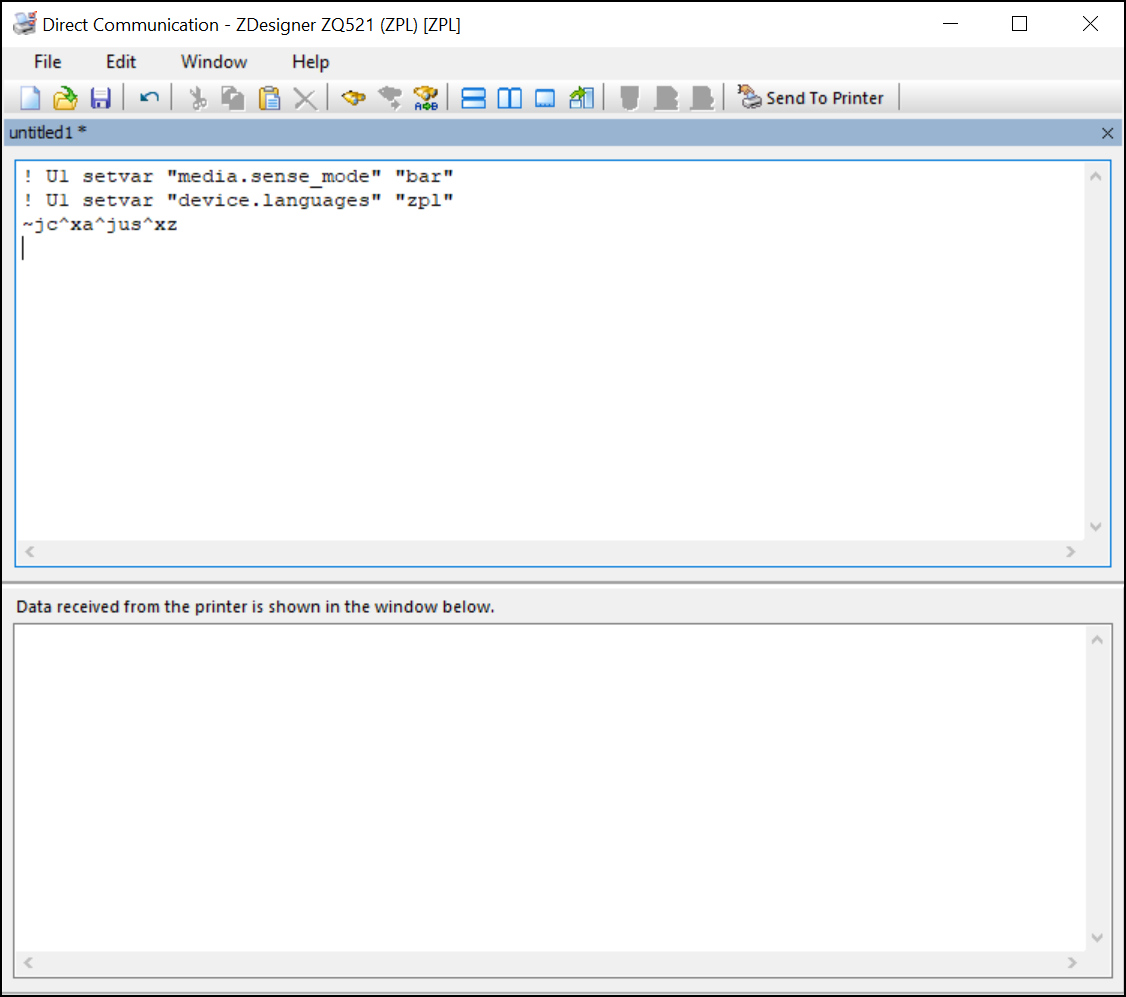
Enter one of the following commands.
For a black mark between each label (Black Mark Media (P4T))
! U1 setvar "media.sense_mode" "bar"
! U1 setvar "device.languages" "zpl"
~jc^xa^jus^xz
For no black mark between each label (Gap Media QL220 Plus)
! U1 setvar "media.sense_mode" "gap"
! U1 setvar "device.languages" "zpl"
~jc^xa^jus^xz
Click Send to Printer.
The printer will feed about four labels as a system check.
If the printer prints random characters, it could be the default. To change the code language to ZPL, enter the following:
! U1 setvar "device.languages" "zpl"
! U1 setvar "device.languages"
~jc^xa^jus^xz
Be sure to press enter between each line item. Click Send to Printer.
After the labels stop cycling, close the screen. Do NOT save the changes.
Open Printer Tools.
To verify the printer is working correctly, select Feed one label under the Print tab and click Send.
6. Customize Label with the Zebra Designer Program
Install the Zebra Designer Program
Open the ZebraDesigner3 Software Support. Scroll down to Software and select ZebraDesigner3 Software Support.
Run the executable (Zebradesigner3-321570.exe).
Select your preferred language.
When the installer opens, select Next.
Accept the terms of the license agreement and click Next.
Select the Product install path and click Next.
On the Start Installation screen, click Install.
After the install is complete, click Done.
Setup Label
Open ZebraDesign3.

Click Open...
Go to C:\HarvestMaster\Mirus\Plugins\ZebraPrinterAttachment\DefaultDesignerLabels
Click on the label that matches the dimensions of your label.
Choose a printer. Click OK.
Select File > Print.
Click Printer Settings.

Click on the Advanced Setup tab.
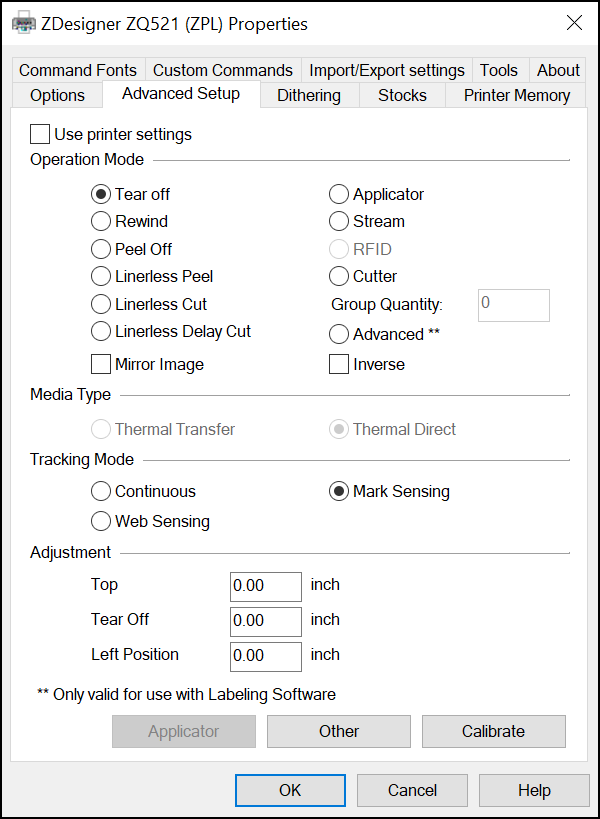
Under Tracking Mode, verify Mark Sensing is selected.
Click Calibrate > OK.
Select Print to File.
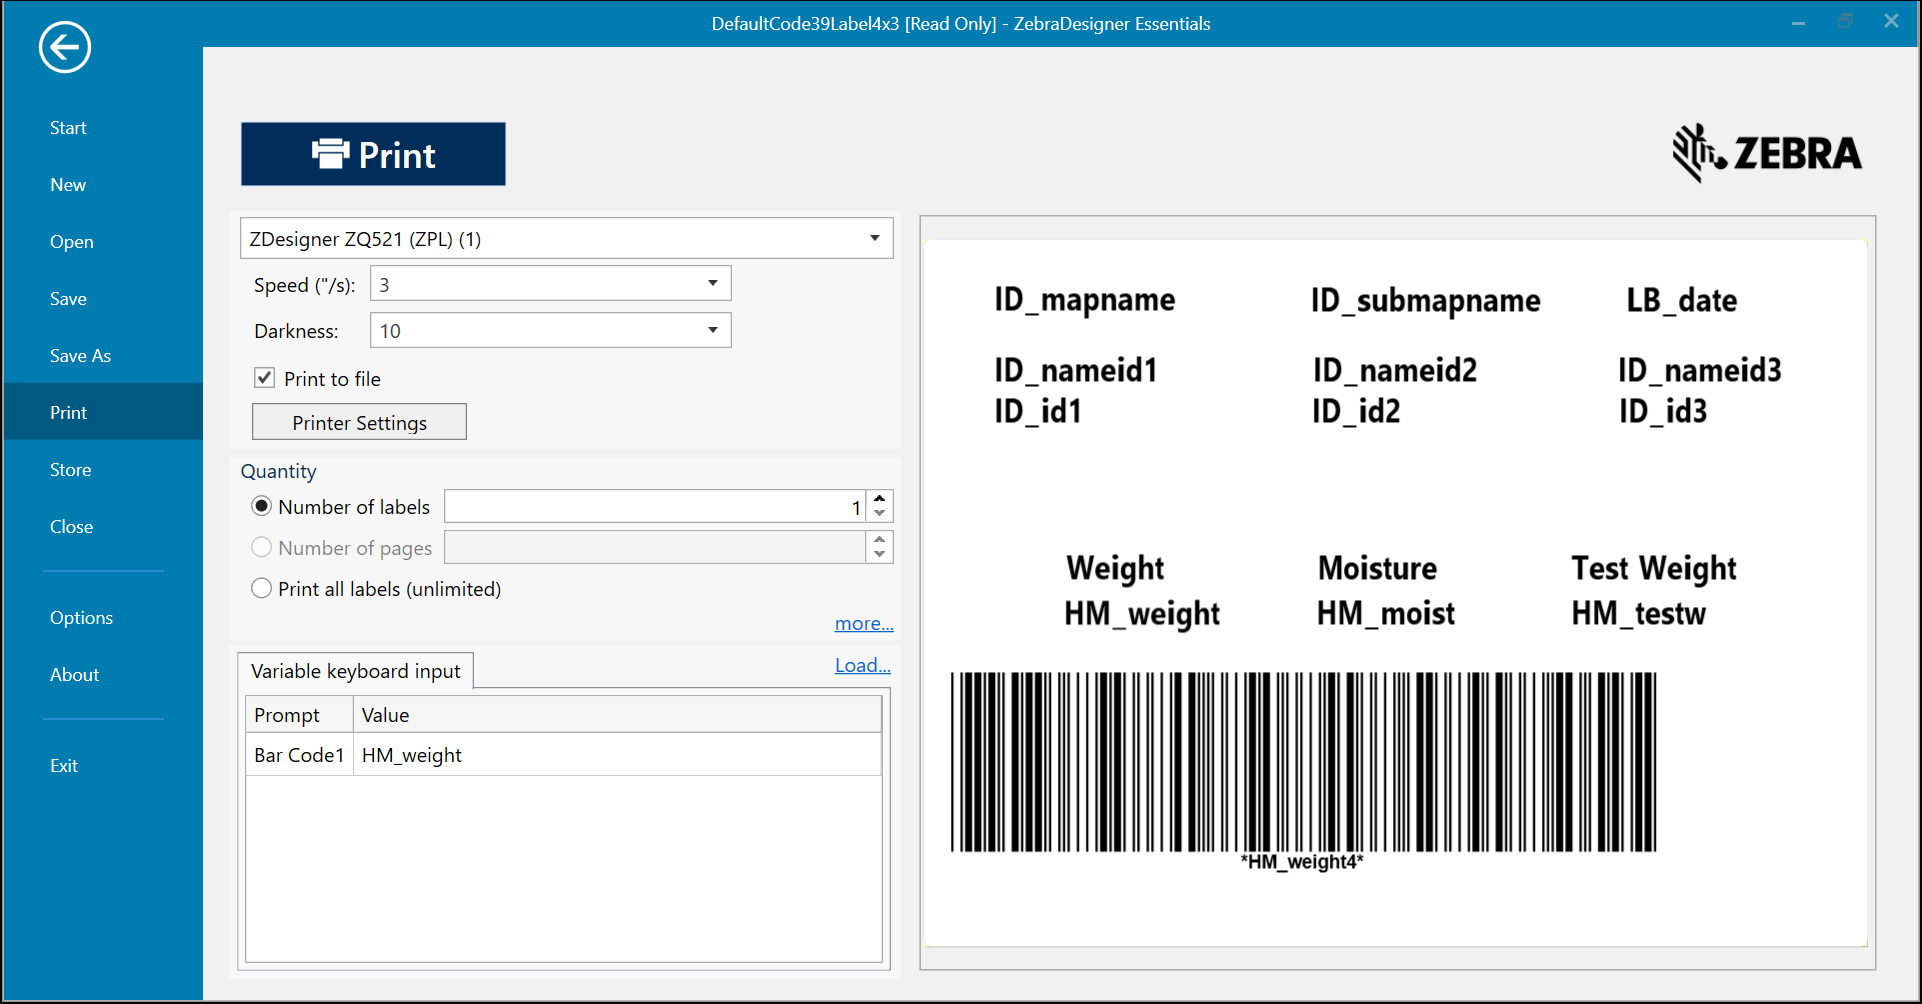
Click Print.
Locate the Labels folder at C:\HarvestMaster\Mirus\Plugins\ZebraPrinterAttachment\Labels.
Make sure the file type is .prn.
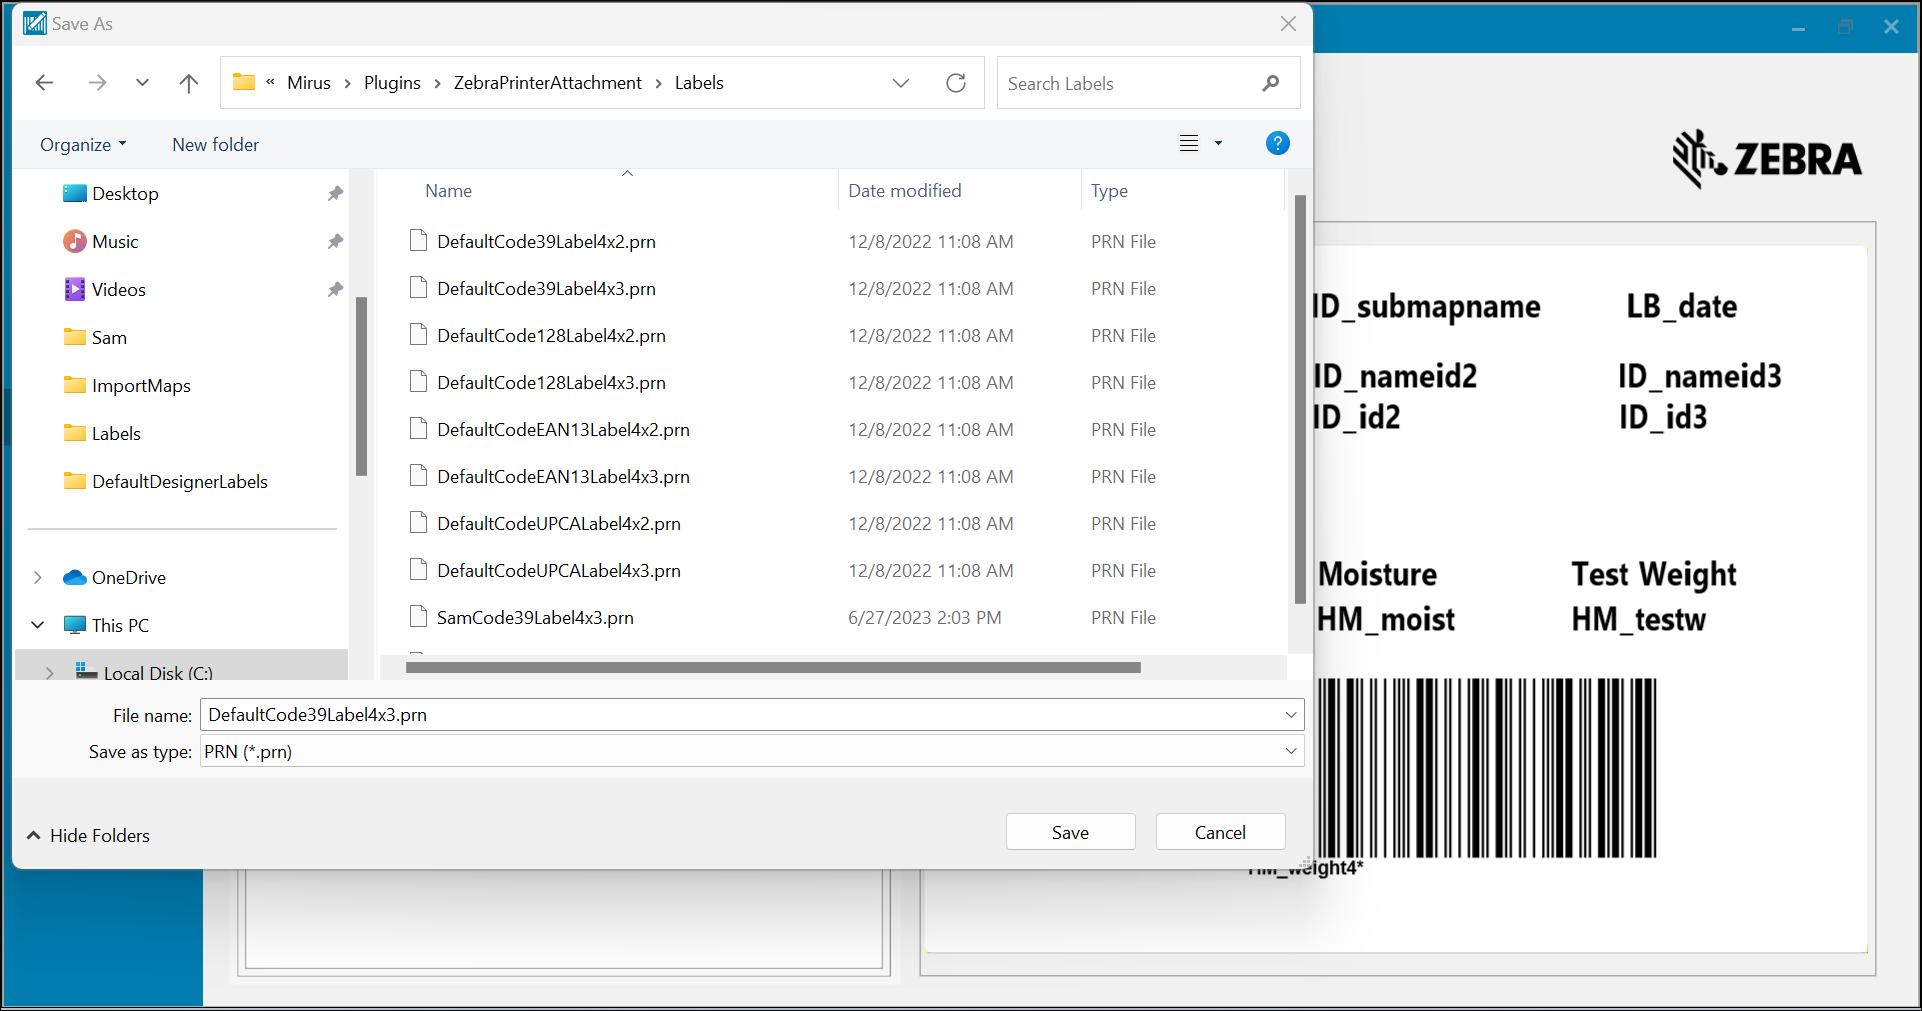
Click Save.
Additional Label Customization Option
To include the weight, moisture, and test weight as part of barcode reading,
Open ZebraDesign3.
Click Open...
Go to C:\HarvestMaster\Mirus\Plugins\ZebraPrinterAttachment\DefaultDesignerLabels
Click on the label you set up in the section above.
Click on the barcode in the label.
Click on the blue icon on the top right of the barcode.
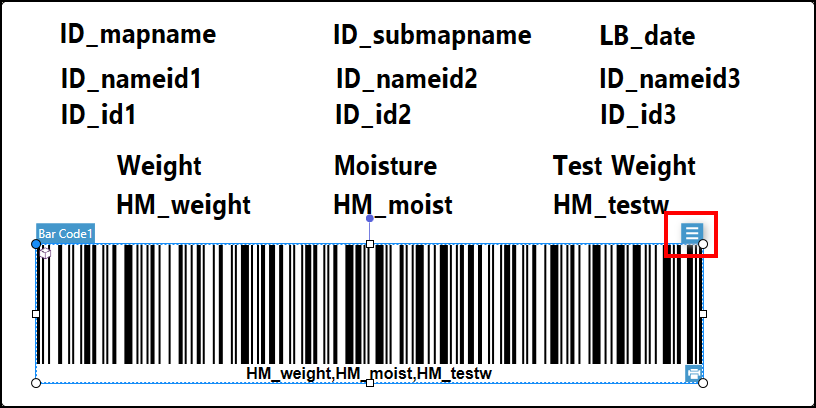
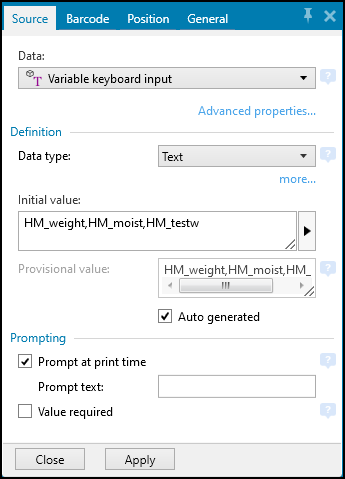
In the pop-up window, click on the Source tab.
In the Data drop-down, select Variable keyboard input.
In the Data type drop-down, select Text.
Under Initial value enter HM_weight,HM_moist,HM_testw
Verify Auto generated is checked.
Click Apply.
Click Print.
Select Print to file.
Click Print.
Locate the Labels folder at C:\HarvestMaster\Mirus\Plugins\ZebraPrinterAttachment\Labels.
Change the file name (if desired). Make sure the file type is .prn.
Click Save.
Label Troubleshooting
If the file did not save as a .prn file,
Find the default file with the dimensions for the label you selected in step 4 above.
Change the file extension from .lbl to .prn. Rename the file to make it unique.
Confirm the file is saved at C:\HarvestMaster\Mirus\Plugins\ZebraPrinterAttachment\Labels.
Verify the file ends in .prn.
When you are asked if you are sure you want to make the change, click Yes.
Verify the label prints by unchecking Print to file then clicking Print.
7. Finish Setup in Mirus
Take your device and printer out to your combine.
Ensure your device is connected to your GrainGage via USB.
Turn on the GrainGage console and open Mirus.
Mirus should connect to the GrainGage.
If Mirus doesn't connect, click the Connect Plugin icon and select the correct GrainGage.
Tap the Connect Plugin icon.
Tap Attachments.
Tap on the Zebra Printer icon. A green check should appear in the icon's corner.
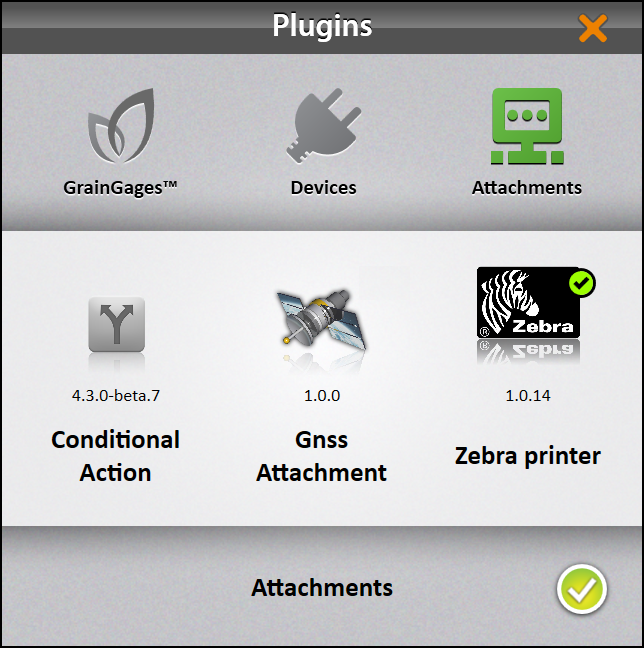
Tap the green check in the bottom right.
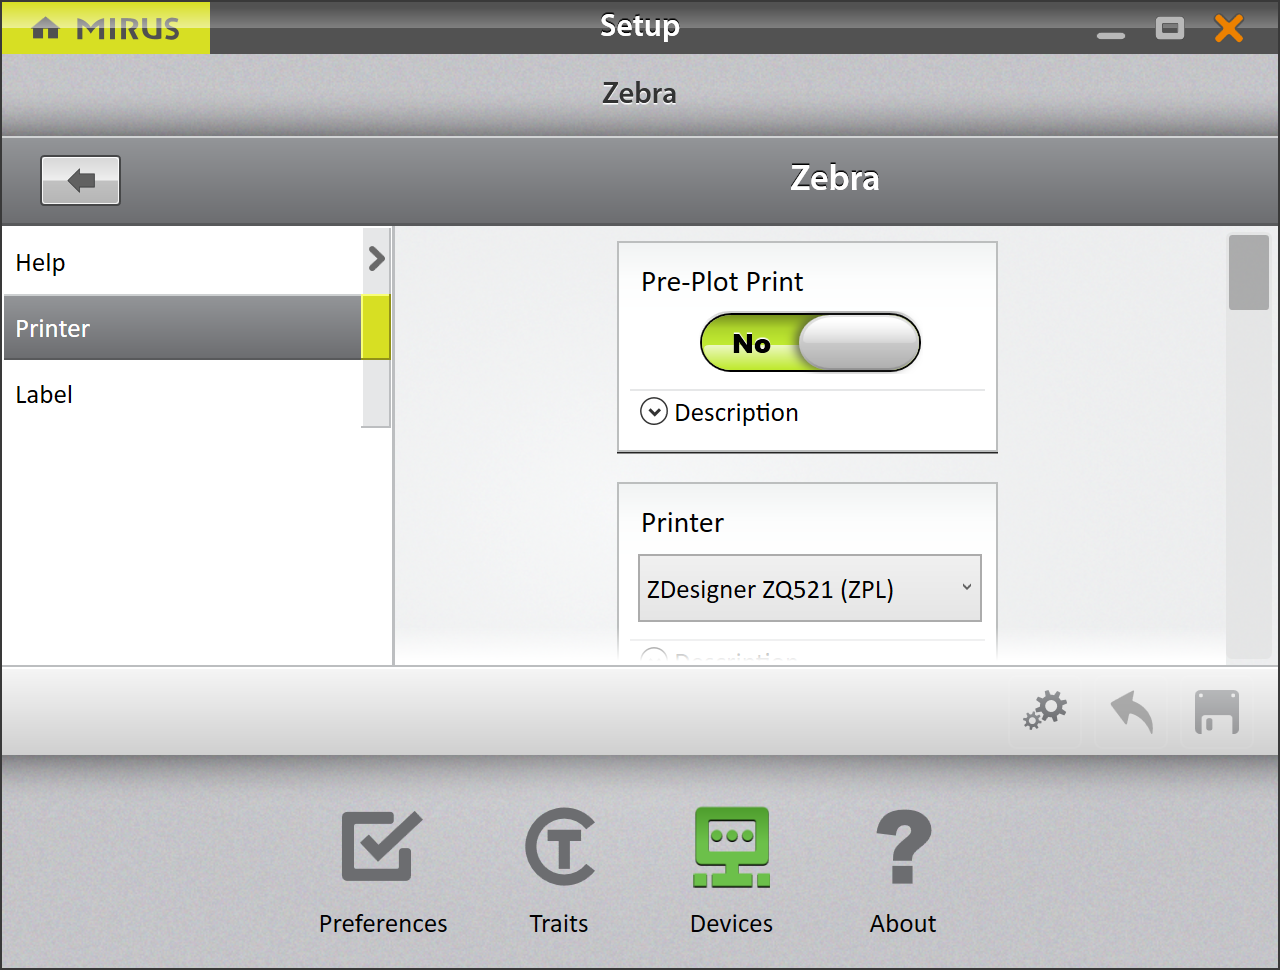
Tap Setup.
Under Zebra > Printer > Printer select the correct printer.
Under Label > Label Template, select the label that you created and customized in ZebraDesigner3 from the drop-down list.
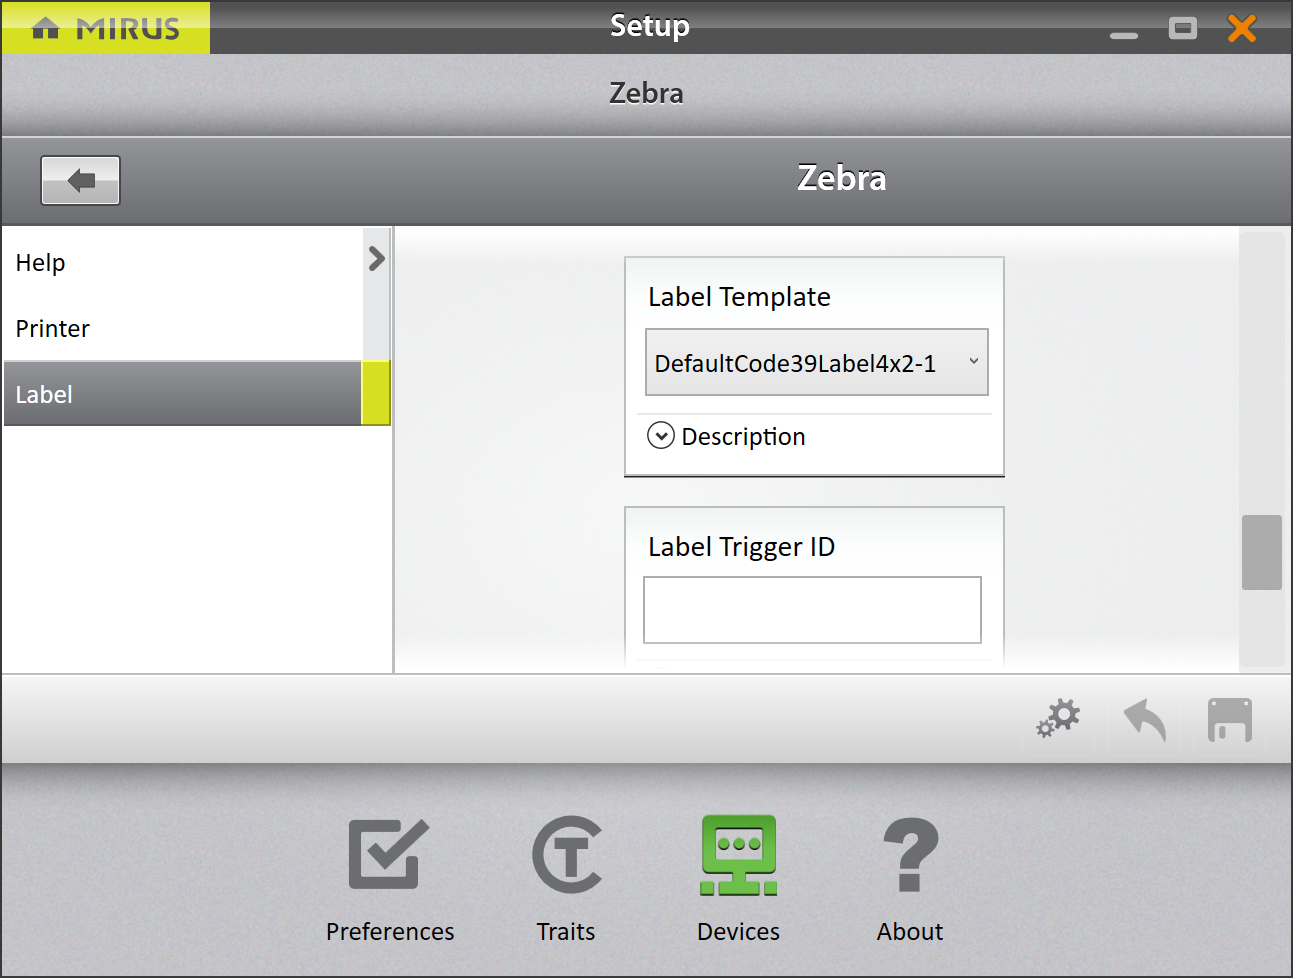
If you leave the Label Trigger ID option blank, a label will be printed for each plot.
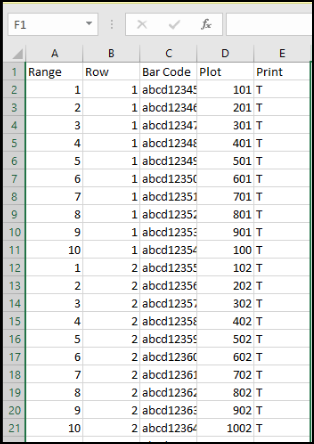
You can use an imported map to specify plots to print labels on. The column name can be anything you like. In the example below, we use "Print."
To specify if a plot should print a specific value, place that value in the print column for that plot. In the example below, we use "T." Leave the column blank for plots you don't want a printed label for.
Enter Harvest and use F3 to print a test label to verify the printer works as expected.

